
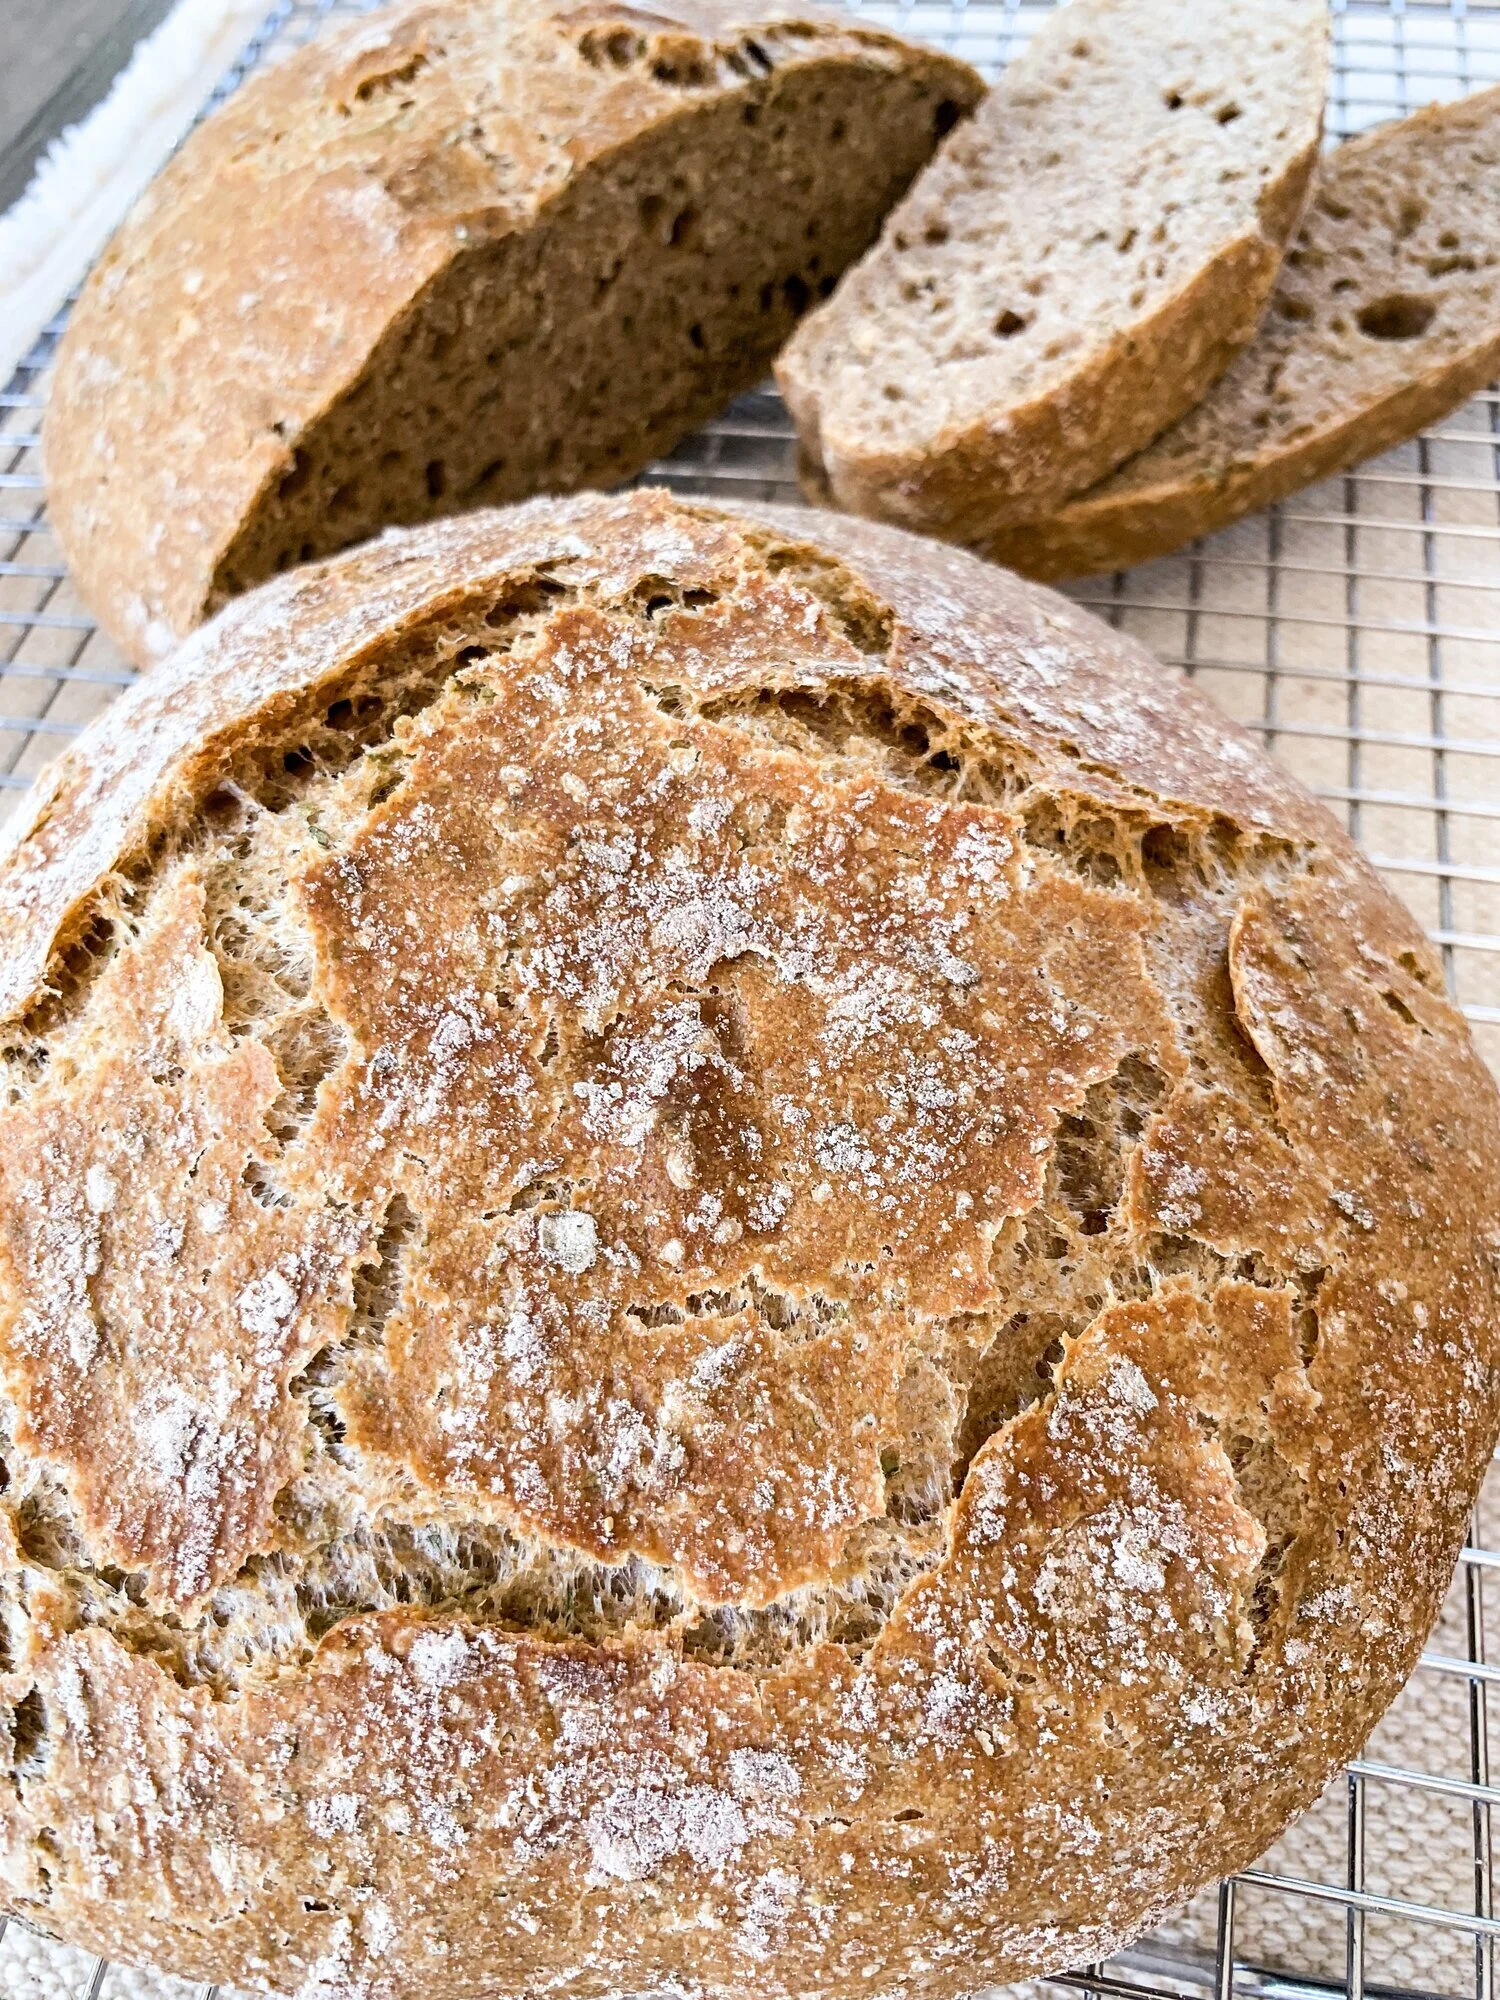
Herbed Dutch Oven Spelt Bread
Y’all, I am obsessed with spelt bread. I first found it at a farmers market here in San Diego when I was desperately on the hunt for gluten-free bread that actually tasted like something but didn't cost me $20 a loaf. I didn’t find a totally gluten free option but I did find fermented spelt.
Spelt is not a gluten free grain, but it is an ancient grain that is wildly untouched by human error like wheat. When most people have a gluten intolerance, or have some sort of immune issue (for me its endometriosis) gluten tends to inflame the issue and make the symptoms much worse. What I’ve noticed though is that when I eat things like organic barley and farrow, I don’t experience inflammation or pain. Which means it comes down to the wheat. Wheat is incredibly over processed and highly sprayed by pesticides making the inflammation from consuming wheat products incredibly high.
I have experimented this not only with myself but on many of my clients, friends and family members who have gluten intolerance. Even my mom, who suffers from arthritis doesn't feel any symptoms flare up when she eats the spelt bread from the famers market like they would when she has wheat based bread. So naturally, I had to recreate it so that you no matter where you live can experience the beauty of spelt.
The other thing that makes this bread amazing is that its fermented which means two things for us- it’s extremely easy and requires absolutely no kneading. You don’t even need to use a stand mixer. The total time for prep time for this bread is literally 10 minutes. You will need patience though as the ideal time for this to ferment and do its thing is 24 hours. Make sure to plan ahead for that if you need it for something specific. The second reason why the fermentation process is so great is that it helps our bodies break it down easier. Fermentation helps with digestion and assists the gut in doing what it does best. This could be another reason why this type of bread doesn't cause the same type of symptoms!
Spelt has so much flavor to it in comparison to wheat - you will never go back to any other bread!
Are you someone who suffers from period pain or unpleasant cycles, and looking for the missing pieces to support your long term menstrual health and longevity?
Take our On-Demand FREE training to see how you can utilize plantbased recipes like this one, to help heal your period and manage your cycle symptoms. Register for the FREE training and pick a time that works best for you!
Tips:
-Make sure you use yeast that hasn't been opened for a long time and is well within the expiration date as this will insure that its still “living”.
-Sifting the flour in a fine mesh strainer after you measure it out before you add any other ingredients will make sure that the flour evenly gets distributed within the bread and will help get those gorgeous “holes” in the bread.
-Don’t forget salt, seriously this is important.
-Use fresh or dried herbs, fresh will have more of an herbed flavor but it depends on what you want.
-Make sure to use lukewarm water - not hot and not cold!
-Buy organic spelt flour - don't skimp on this as organic has a much much better flavor. Level off the cups with a knife to be exact.
-Trust the fermentation process! My biggest tip with cooking things like this that take a little time… its like cooking rice, trust that its doing it’s thing!
Prep time: 10 minutes
Total time: 25 hours
The Goods:
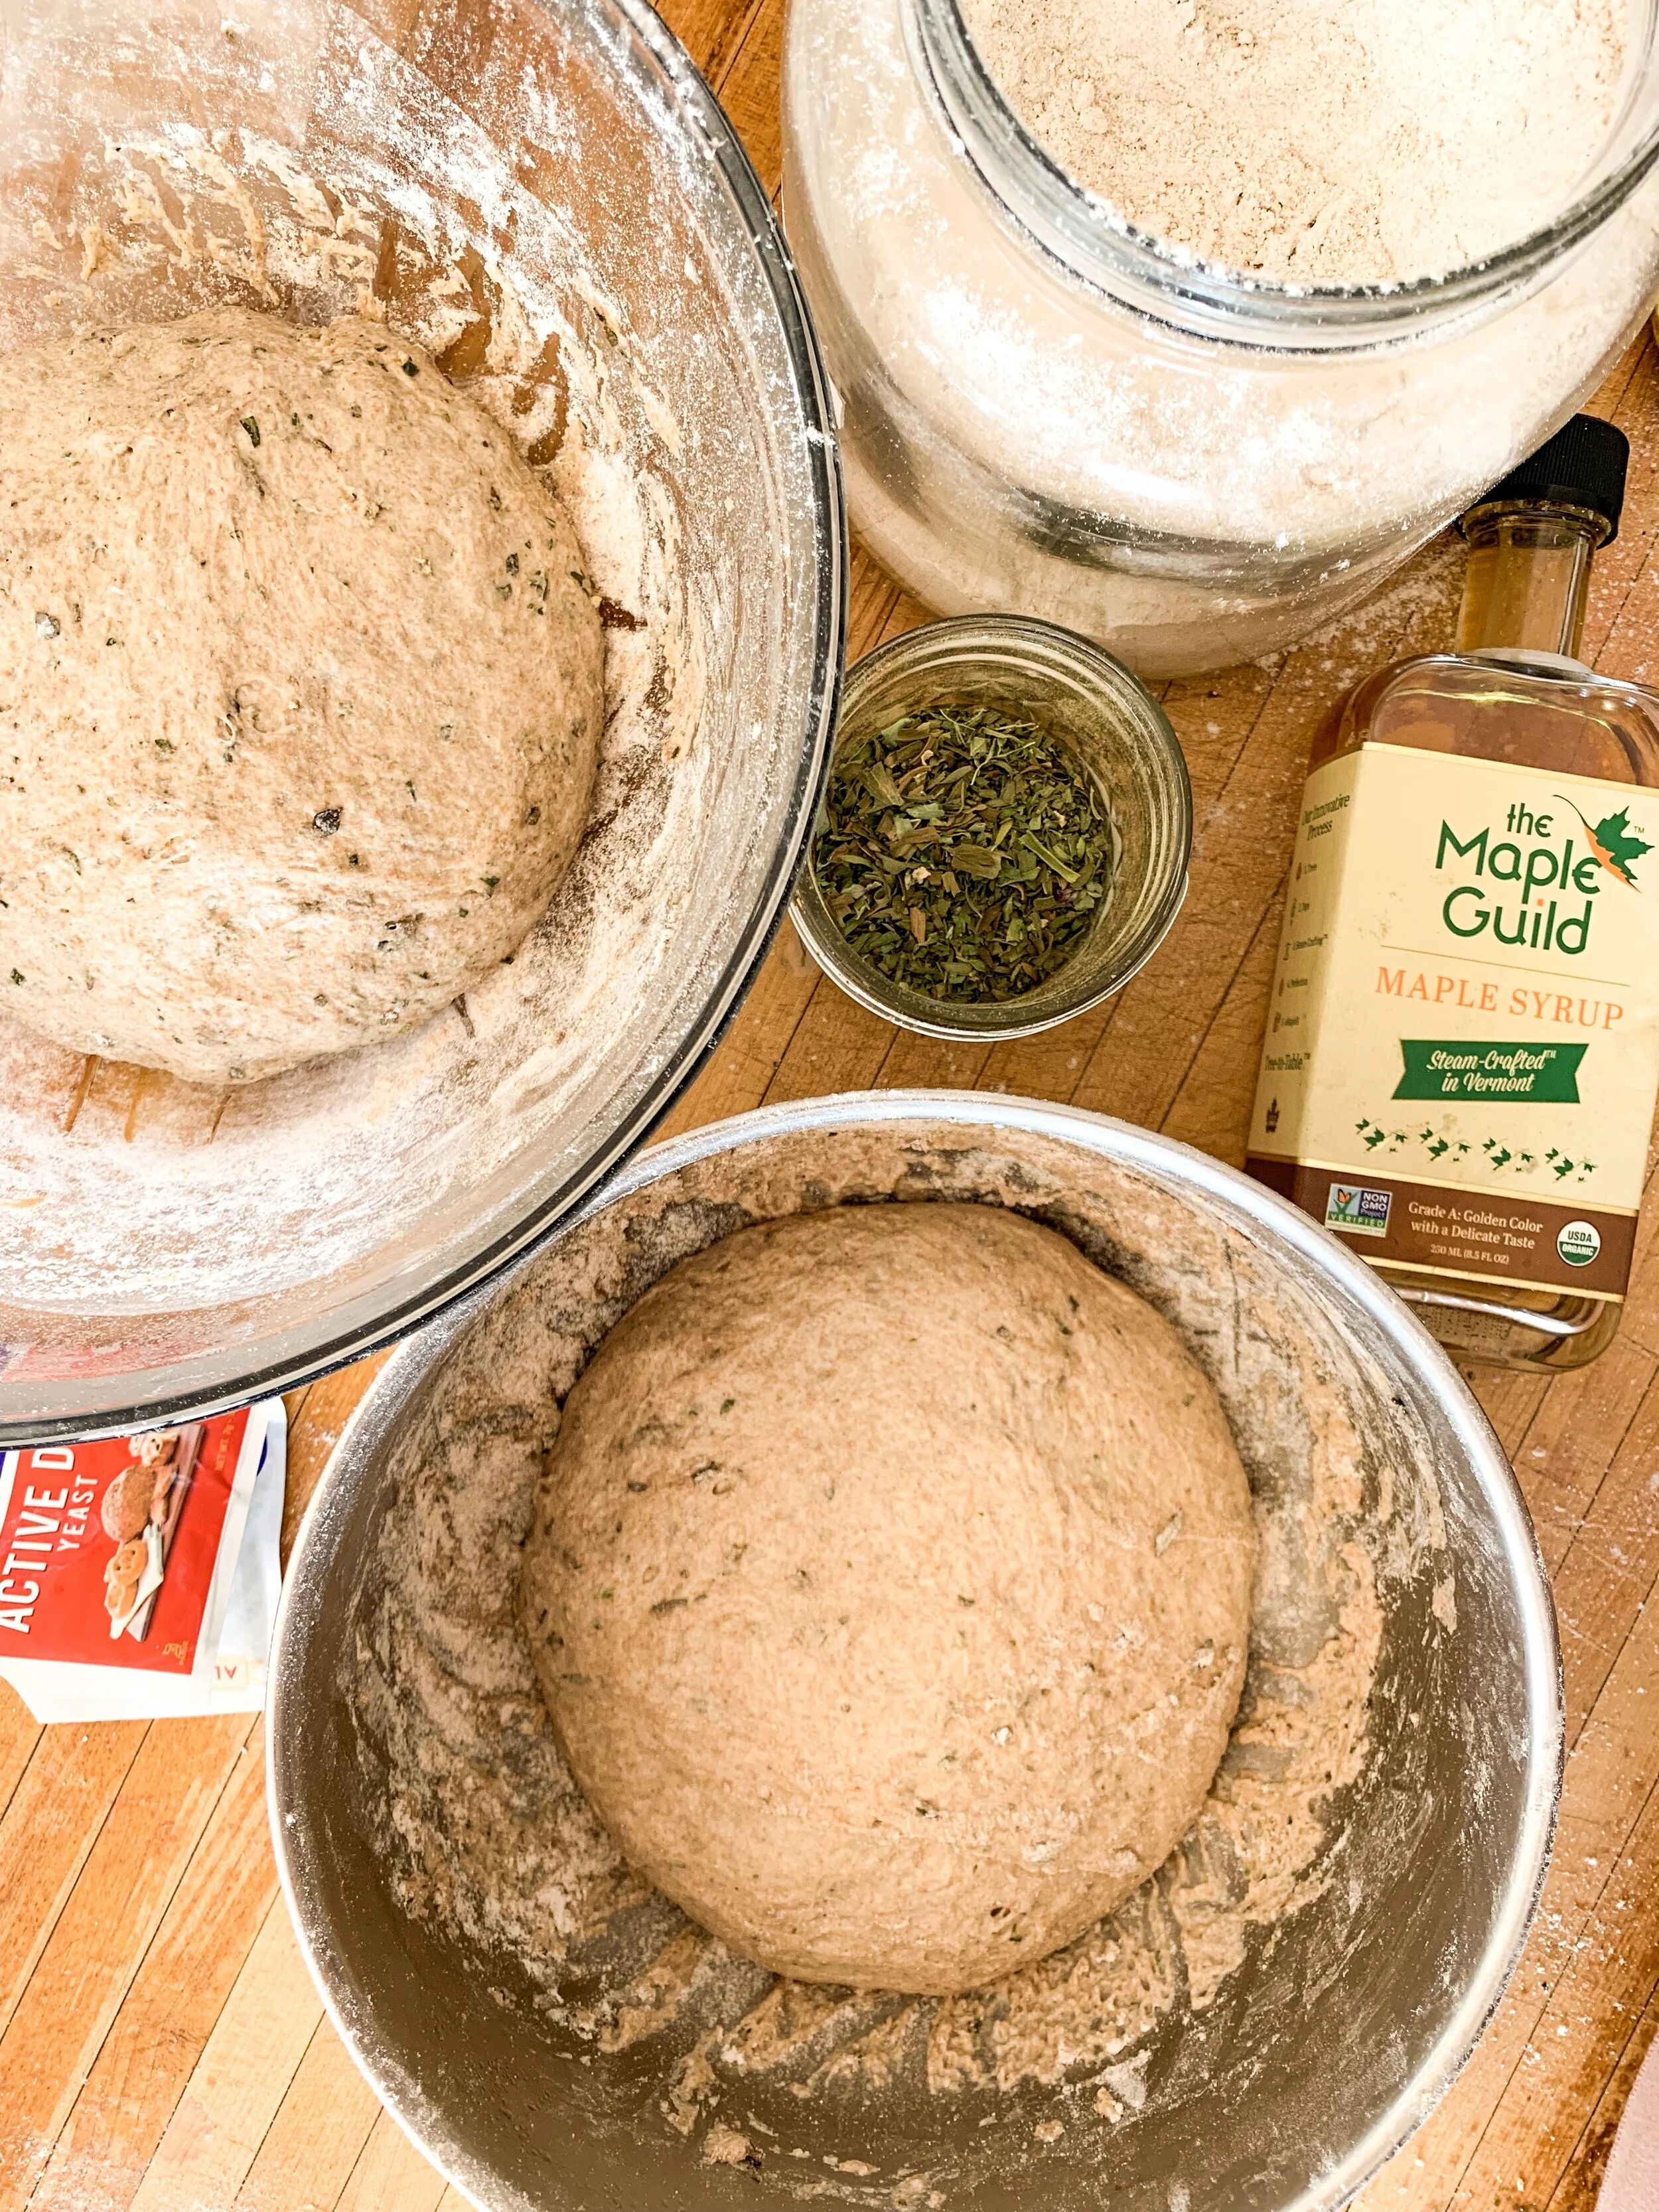
3 cups sifted spelt flour + more for dusting
3/4 Tbsp dry active yeast.
2 tsp salt
1/4 cup dried or fresh chopped herbs (I used a mix of both)
1 1/2 cups room temp. filtered water
2 tsp maple syrup
The Method:
Sift your flour into a large bowl. Set aside.
Add the herbs, yeast and salt. Mix well.
In a mason jar, or different bowl, add the water and maple syrup and stir until the maple syrup is dissolved.
Slowly add the maple water mixture to the flour mixture while stirring with a wooden spoon or fork until fully combined. This should be wet and not totally look like a dough yet.
Cover the top of the bowl with a reusable top or plastic wrap.
Let it sit out on the counter away from sunlight for 24 hours.
After 24 hours it should have doubled in size and have some little holes on the top.
Add your empty dutch oven (any ceramic or cast iron 5 qt pot) to your oven. Preheat your oven with the dutch oven inside at 450. This will allow your dutch oven to heat up with the oven.
Remove the top cover of your bowl and dust your hands with flour.
While the dough is still in the bowl, gently form the dough into a big ball. If it’s sticky just keep dusting it with flour.
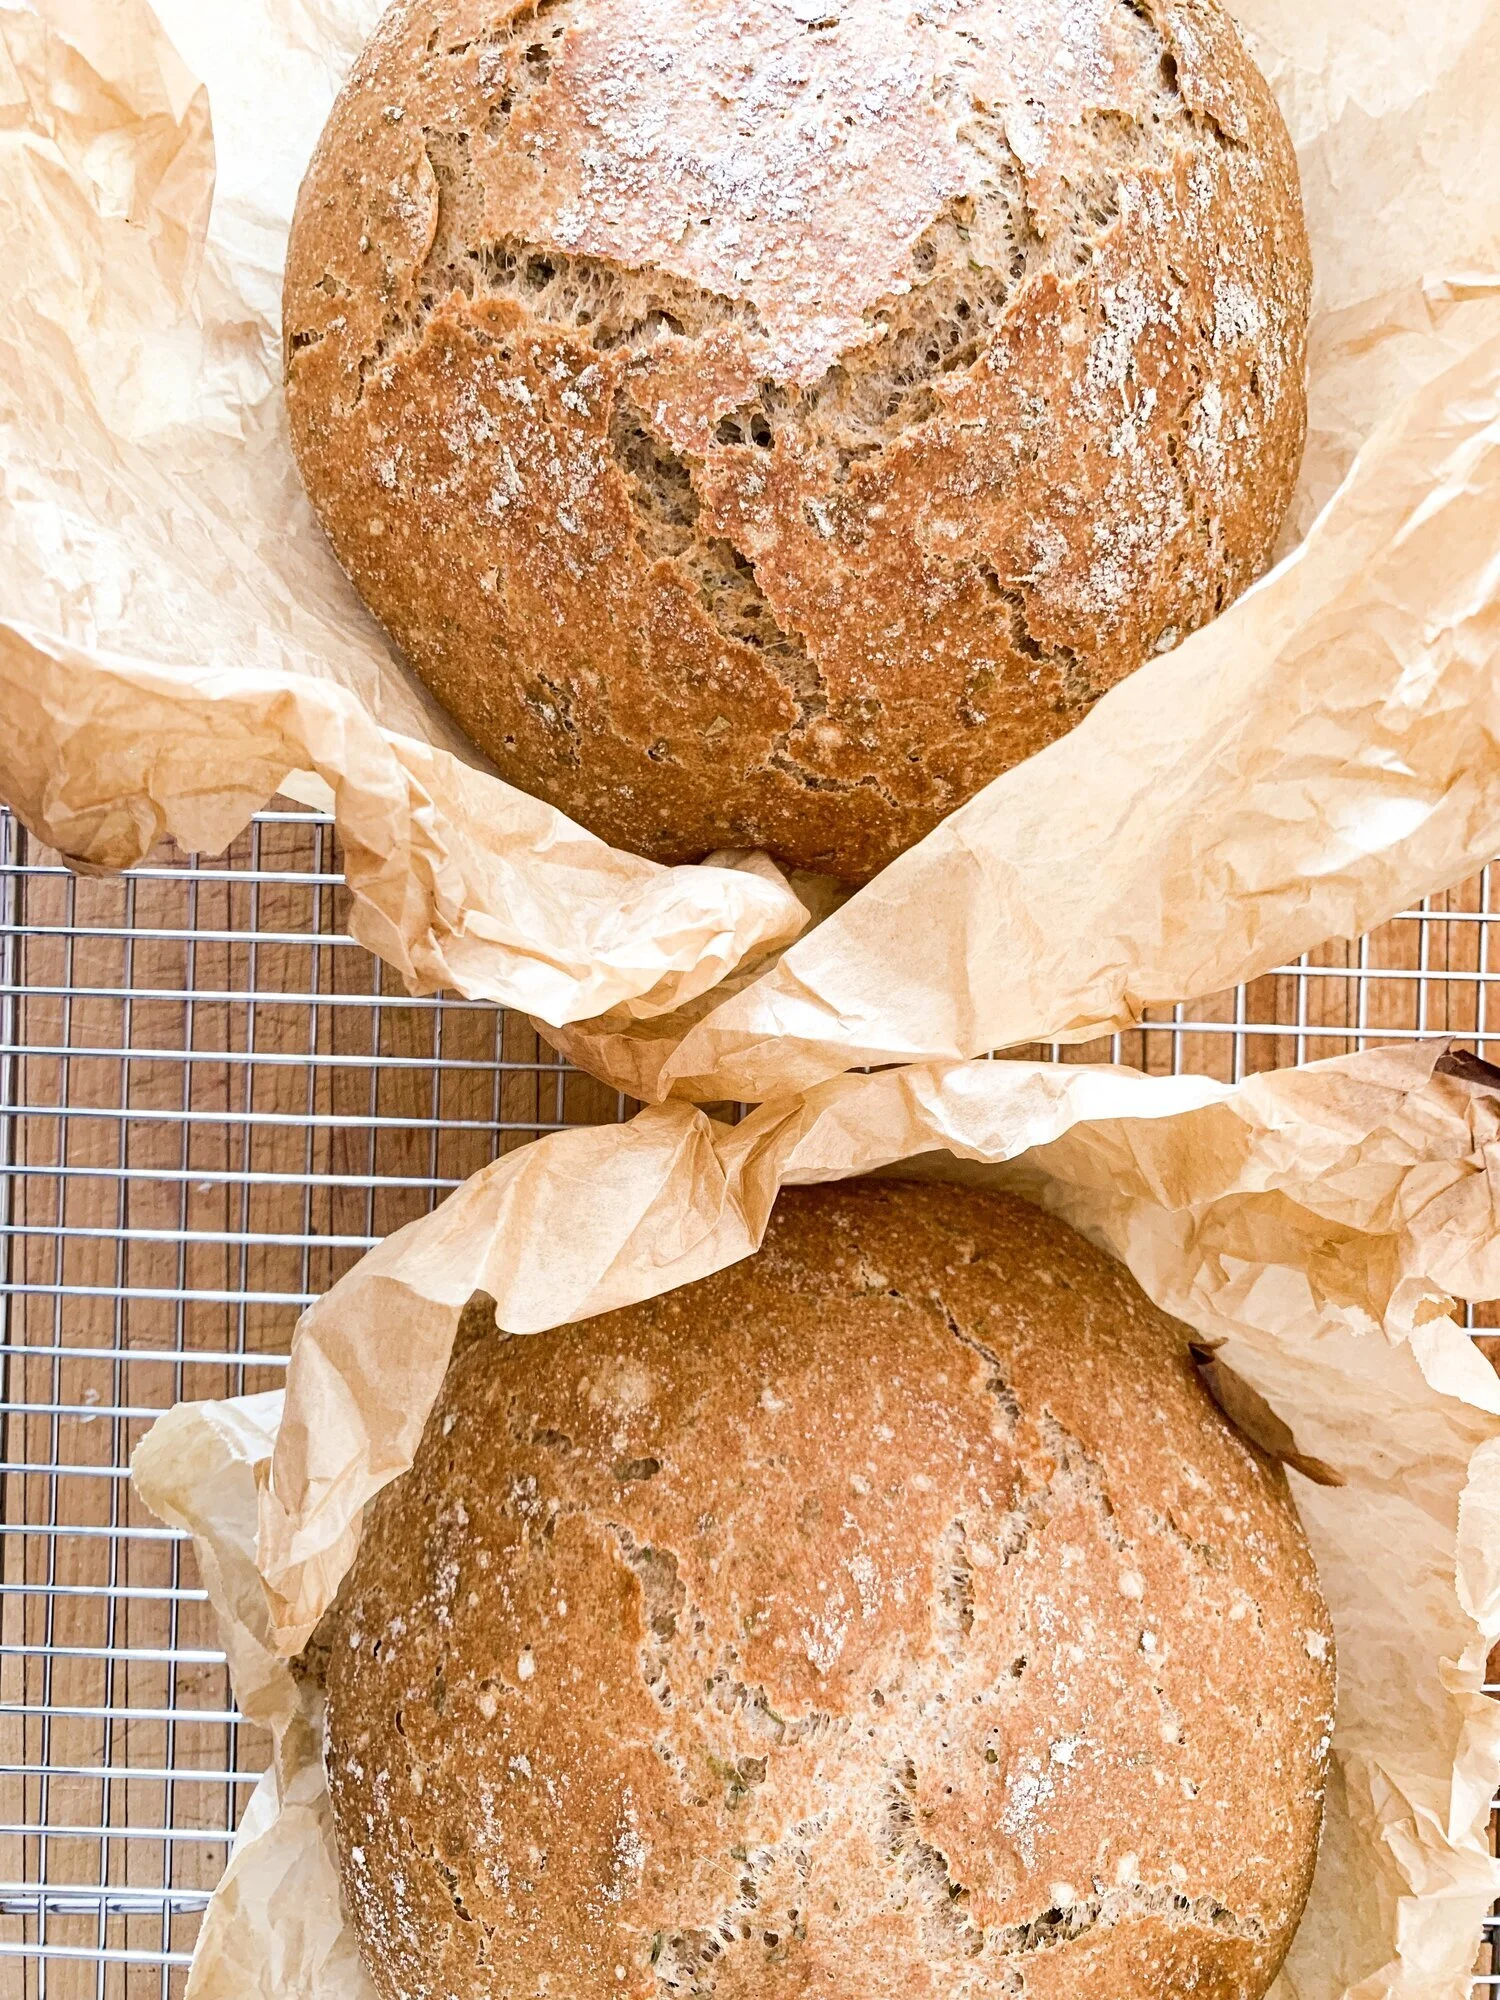
Carefully remove the dutch oven from the oven and line with parchment paper. (It’s hot! Careful!)
Transfer and drop your dough ball into the dutch oven and cover.
Bake for 30 minutes covered and then 15 minutes uncovered.
After 45 minutes, remove from the oven and pull the bread out immediately with the parchment paper. The paper cools really fast so it shouldn't be a problem pulling out of the dutch oven.
Let it cool completely on a cookie rack and enjoy!

Thanks so much for checking out our recipes! I hope you find something here that satisfies your cravings or encourages you to try something new. Make sure to check back every week to see our new recipes!
Ready to take your health to the next level? Check out our podcast!