
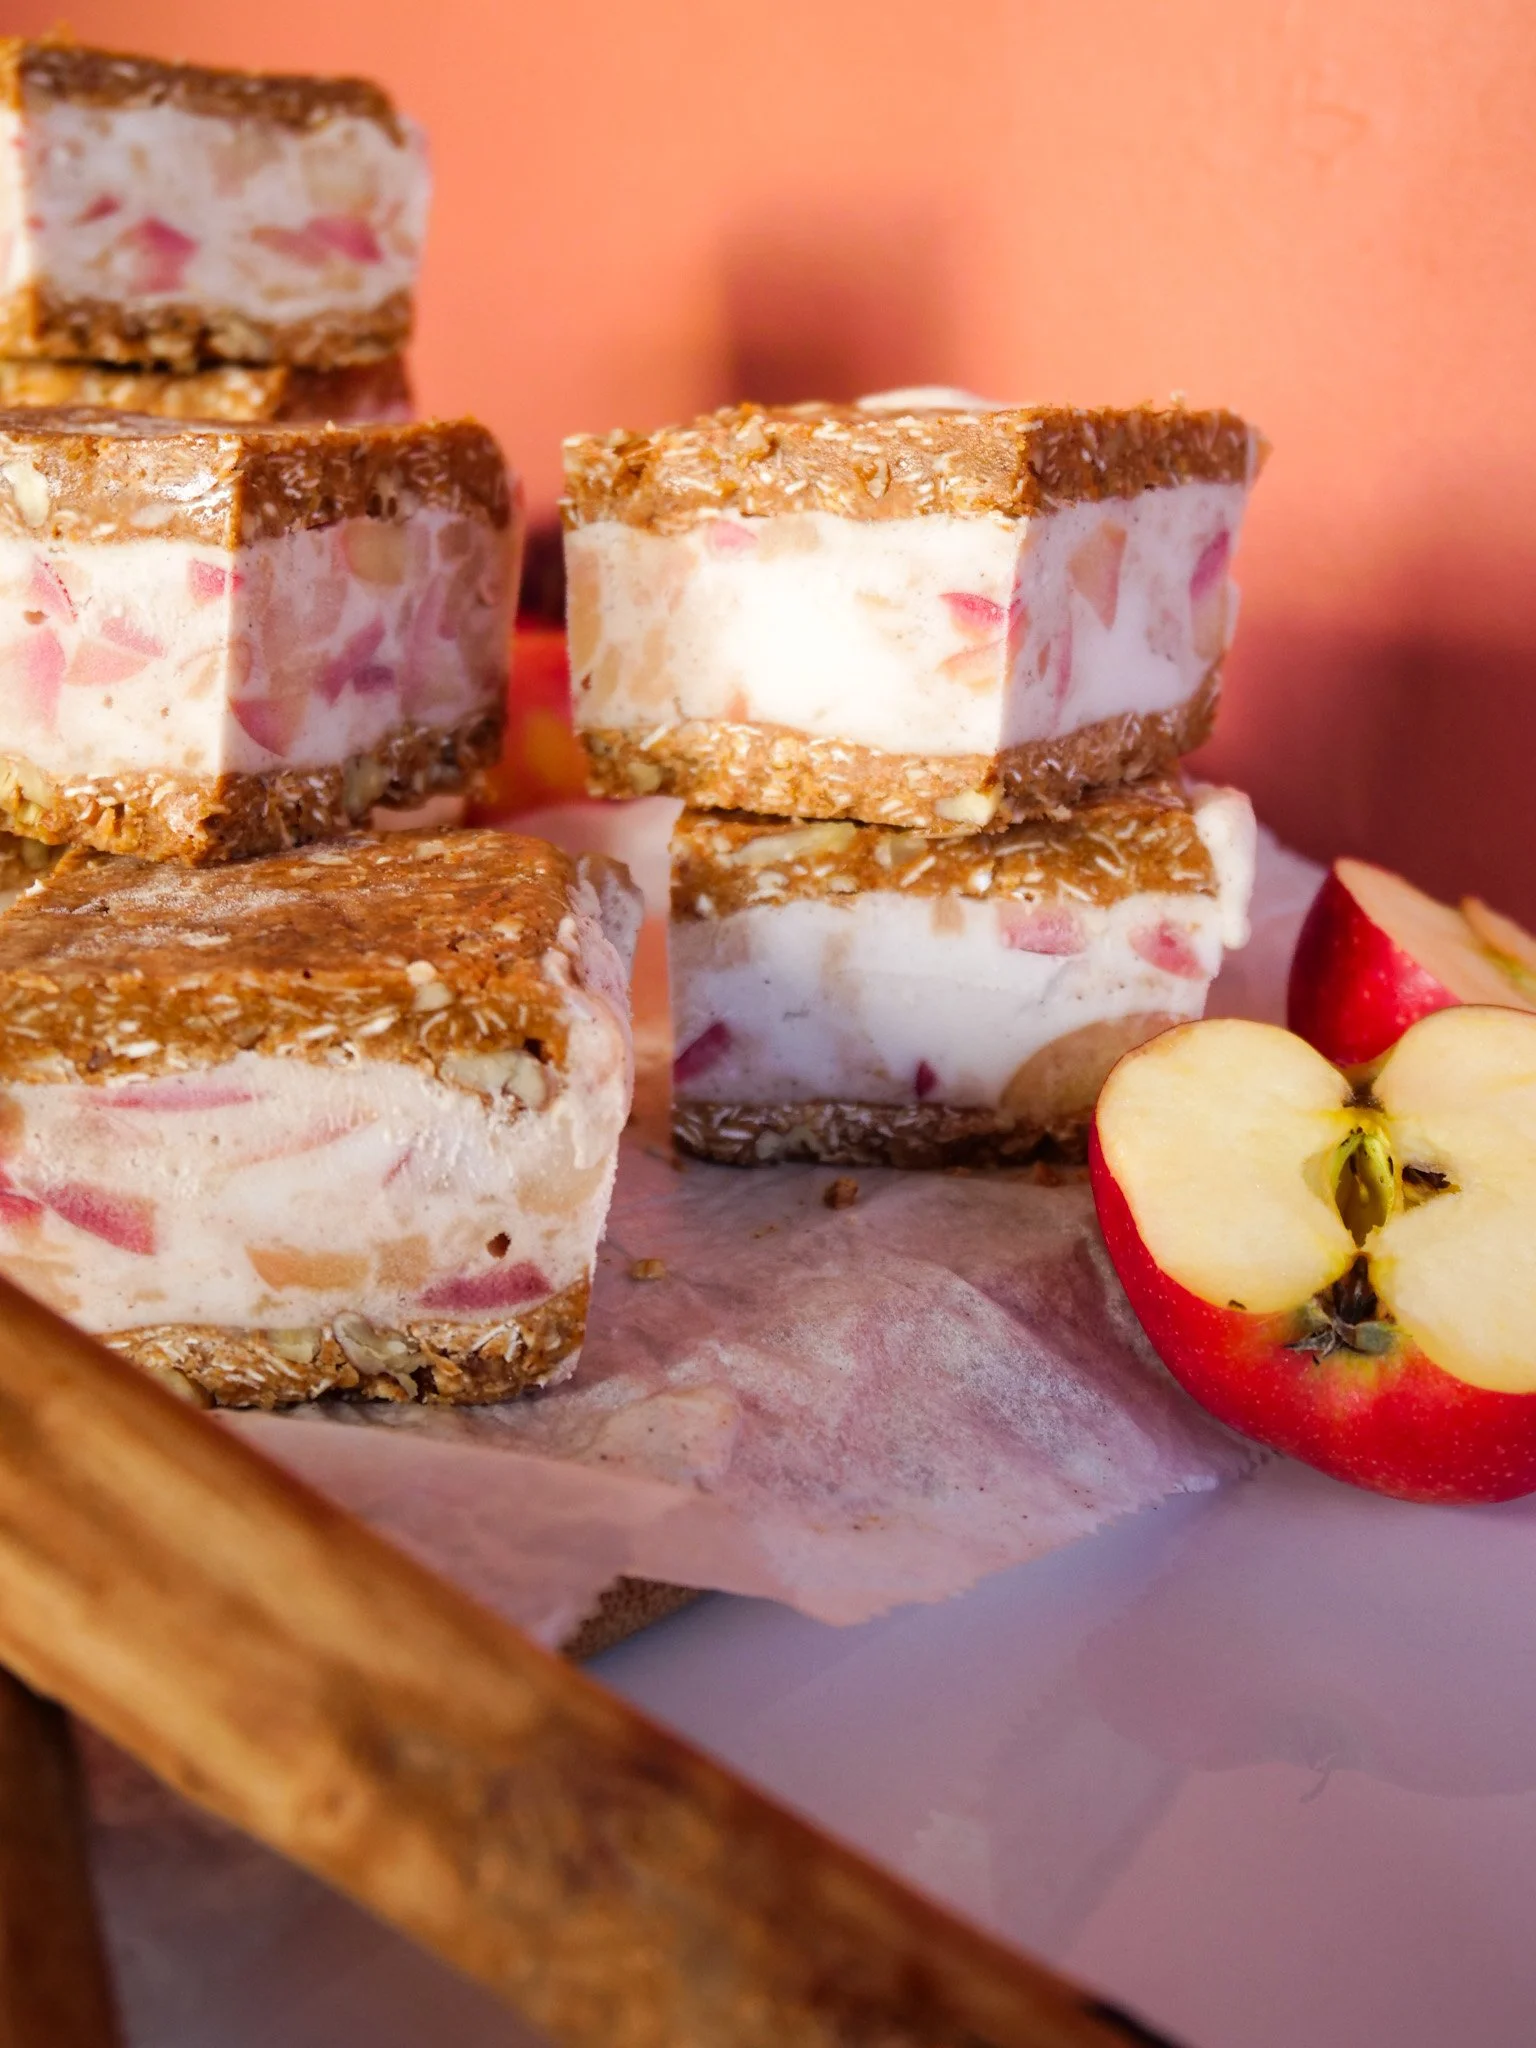
Apple Pie Ice Cream Sandwiches
It’s everything you wanted from an apple pie, wrapped up into an ice cream sandwich. Let’s be real, we all get sugar cravings, so if you’re going to lean into them, do it with this recipe!
Every time fall rolls around, everyone else is settling into warmer clothes and hot tea while over here in San Diego, we’re all getting ready for what we like to call “local summer”. It’s when the weather is perfect, the tourists leave and we get our beaches back. This recipe is dedicated to our local summer because although produce is changing (hello apples!) and fall festivities are approaching, we’re still sitting beachside waiting out colder weather as long as possible. Its a little slice of summer + fall all wrapped up into one!
These apple pie ice cream sandwiches are packed with clean ingredients unlike anything you could find at the store. With just 11 ingredients, this recipe is perfect for those who want a sweet treat, without all the fillers and gums. I love this recipe because it’s packed with clean plant protein from almonds, oats, pecans, and you can individually wrap these sandwiches up for an easy on the go snack.
This recipe is:
dairy free
plant based
gluten free
allergy friendly
high protein
a delicious frozen snack
Are you someone who suffers from period pain or unpleasant cycles, and looking for the missing pieces to support your long term menstrual health and longevity?
Join our 4-week challenge designed to help you sync the phases of your menstrual cycle with a whole food plant based lifestyle. It will help you regulate and manage your symptoms - but most importantly, it will help you THRIVE all month long.
Includes, an exclusive digital cookbook with 20 plant based recipes designed to support you during your cycle!

Makes 9 or 12 ice cream sandwiches
The Goods:
For the cooked apples:
1 tbsp coconut oil
4 apples, finely diced
1 tsp cinnamon
1 tbsp maple syrup
1/4 tsp nutmeg
1 tbsp lemon juice
1 quart vegan vanilla bean ice cream
For the crust:
1 cup almond butter
1/4 cup maple syrup
3/4 cup almond flour
1 cup gluten free oats
3/4 cup pecans, rough chopped
The Method:
Heat a large stainless steel pan on medium high heat with coconut oil. Once oil is melted, add your apples and sauté for 1 minute. Now add cinnamon, maple syrup, nutmeg, lemon juice, and sauté for 3-4 minutes. Remove from heat and set aside to cool completely. (Tip: If you want to apples to be softer, cook them for about a minute more.)
In a large mixing bowl, add your almond butter, maple syrup, almond flour, oats, and pecans together. Mix and fold until you have a beautiful soft mixture. With a spatula, separate the mixture into two equal halves. Set aside.
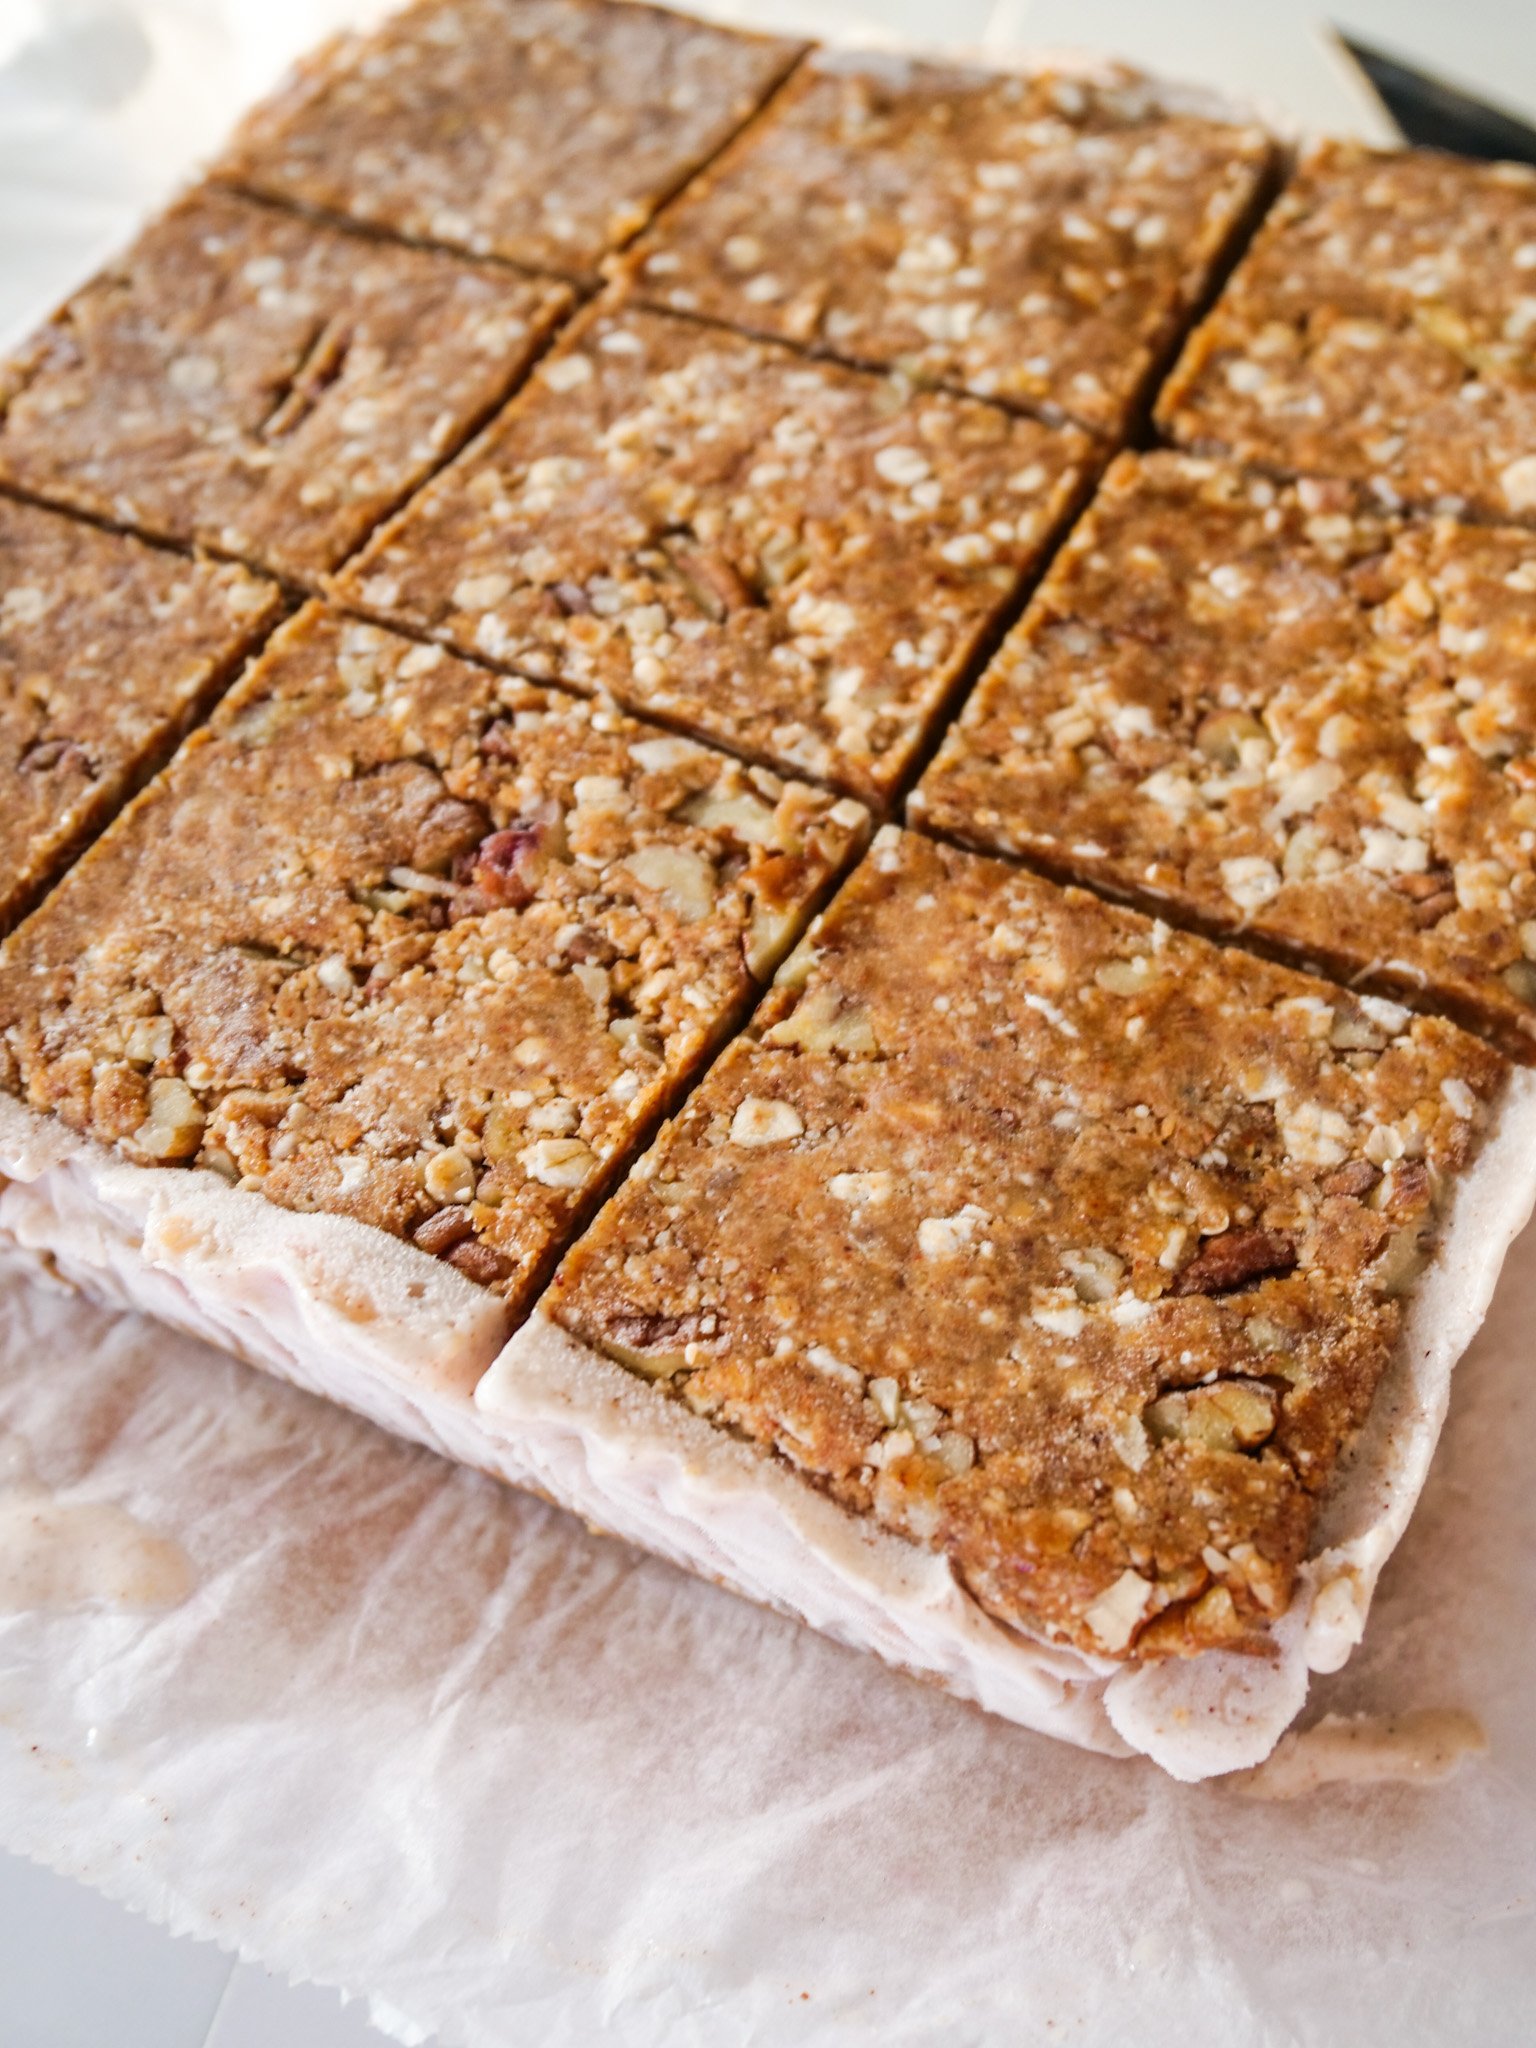
Grab a 9x9 baking dish, line with parchment paper, and take 1/2 of your crust mixture and press it evenly flat into the baking pan. Once you have a even & flat piece, carefully remove both the crust and parchment paper together and place onto a large plate or baking sheet to freeze.
Repeat again, flatten the other 1/2 of the crust and another piece of parchment paper in the same empty 9x9 baking dish. Once your second piece is flattened, again remove both the crust and parchment paper together and set onto a large plate or baking sheet. Freeze both 9x9 crust pieces for about 15-30 minutes. As the top and bottom crust pieces are freezing, it’s time to make the filling.
In a large stand alone mixer, add in your cooled apples and the whole quart of vegan vanilla ice cream and mix just until you have a chunky apple pie ice cream. Don’t mix for too long otherwise it will start to melt. You can also fold together with a spatula if you don’t want to deal with a stand mixer.
Work quickly and remove your crusts from the freezer. In the 9x9 baking dish add in one crust layer with the parchment still on the bottom (for easy lifting out of the pan later), then top with your ice cream mixture and flatten it evenly across. Top with the other crust layer, and lightly push it down to get everything tight and even.
Freeze for 3 hours to overnight covered. Overnight is my preference so you know its solid. Once done freezing, remove from the freezer, wait 5 minutes, remove from the pan and then cut into 9 or 12 squares & keep frozen until you are ready to enjoy them! (Tip: Wrap each individual sandwich into a little piece of parchment paper and string knot in the freezer for easy on the go frozen snack!)

Thanks so much for checking out our recipes! I hope you find something here that satisfies your cravings or encourages you to try something new. Make sure to check back every week to see our new recipes!
Want more? Check out our YouTube channel!